Demonstration : Installing AD-RMS
Okay, let’s go for the demonstration of installing first AD-RMS Cluster in Single Active Directory Forest. In this lab setup, I have 4 workstations,
1. Test-DC as Domain Controller named as (itmaverick.com)
2. Test-RMS (member of domain itmaverick.com)
3. Test-Client1 (member of domain itmaverick.com)
4. Test-Client2 (member of domain itmaverick.com)
| Network Setup Diagram for AD-RMS |
All right; I have already setup my domain controller as itmaverick.com and joined all rest 3 workstations Test-RMS, Test-Client1 and Test-Client2 to the domain itmaverick.com
First of all, create a user account in your active directory named as rms-svc. This user account will be use as “Service Account” for AD-RMS.
Switch to workstation Test-RMS where you will install the role of AD-RMS.
So, Click on Start menu and point to Administrative tools and finally let me click on Server Manager.

Under the console of Server Manger; you have options to install roles and remove roles. Click Add Roles.
On the Before You Begin page, click Next.

On the Select Server Roles page, select the Active Directory Rights Management Services check box.
When prompted, click Add Required Role Services, and then click Next and Click Next twice.

On the Create or Join an AD RMS Cluster page, select Create a new AD RMS cluster, and then clickNext.

On the Select Configuration Database page, select Use Windows Internal Database on this server, and then click Next because you may not have External Database (SQL), you can use Internal Database.

On the Specify Service Account page, click Specify, type ITMAVERICK\rms-svc, type Pa$$w0rd for the password, click OK to provide a domain user account for the AD-RMS service account, and then click Next.

On the Configure AD RMS Cluster Key Storage page, select Use AD RMS centrally managed key storage, and then click Next.

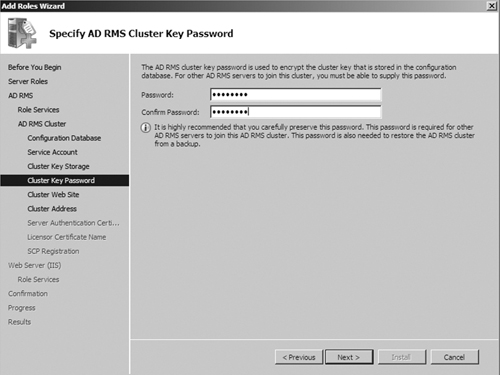
On the Specify AD RMS Cluster Key Password page, type Pa$$w0rd as the AD RMS cluster key password, and then click Next.
On the Select AD RMS Cluster Web Site page, ensure that Default Web Site is selected, and then click Next.

On the Specify Cluster Address page, in the Internal Address box, type test-rms.itmaverick.com, selectUse an unencrypted connection (http://), click Validate, and then click Next.

On the Name the Server Licensor Certificate page, in the Name box, type IT Maverick, and then clickNext.

On the Register AD RMS Service Connection Point page, ensure that Register the AD RMS service connection point now is selected, and then click Next three times.
On the Confirm Installation Selections page, view the informational messages, and then click Install to complete the installation.
After the installation is complete, click Close, and then log off from server and re-login as Tes\Administrator.

Congrates!!! We have successfully install AD-RMS server in our infrastructure.
So; it’s time to work with AD-RMS Server
To test; your AD-RMS Server Setup, you must have 2 users and 2 computers. So such to Test-Clent1 machine where you need to logon as user1 (Shivajee). Once you logon to machine, Quickly open MS Word 2007. Here you need to create a document that can be save on your local drives or on the shared storage over a file server.
Now you need to encrypt this document through my RMS sever. To do so, click on “Office Button” and point to prepare restricted permissions and finally click Restricted Access. Now this is going to contact to RMSServer and will configure it.
Now click on”Restrict permission to this document” and type hardik@itmaverick.com in read text box. Finally; save and close this document.
Let’s try to open this document “confidential.docx” from Test-Client2 as user “hardik”. See this document is read only for the user Hardik and he is not able to edit it that’s that expected behavior on this document Read-only.
Put your comment; if you need more clarity.
ReplyDeletePlease share / like this blog; if you really liked it on your facebook / twiter / email so that this can reach to the maximum number of person; who actually need it.